
This can be used for a customer such as a property management firm which manages several different buildings. Or for single customer/building that has multiple units that you do work in. Check out the videos on Adding & Editing Organizations and Adding & Editing Offices.
1. Enter the commercial customer as an organization:
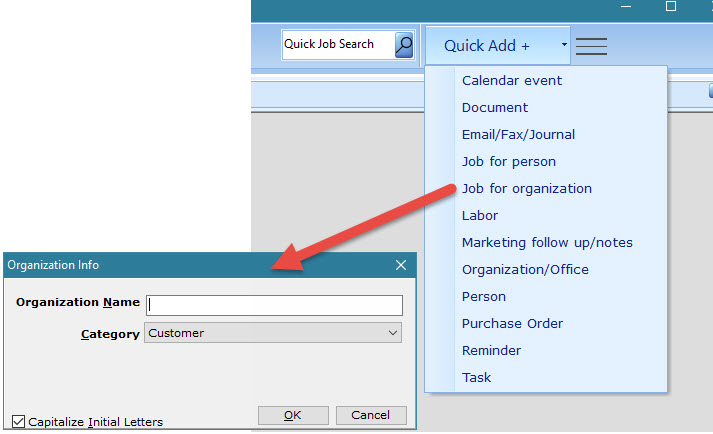
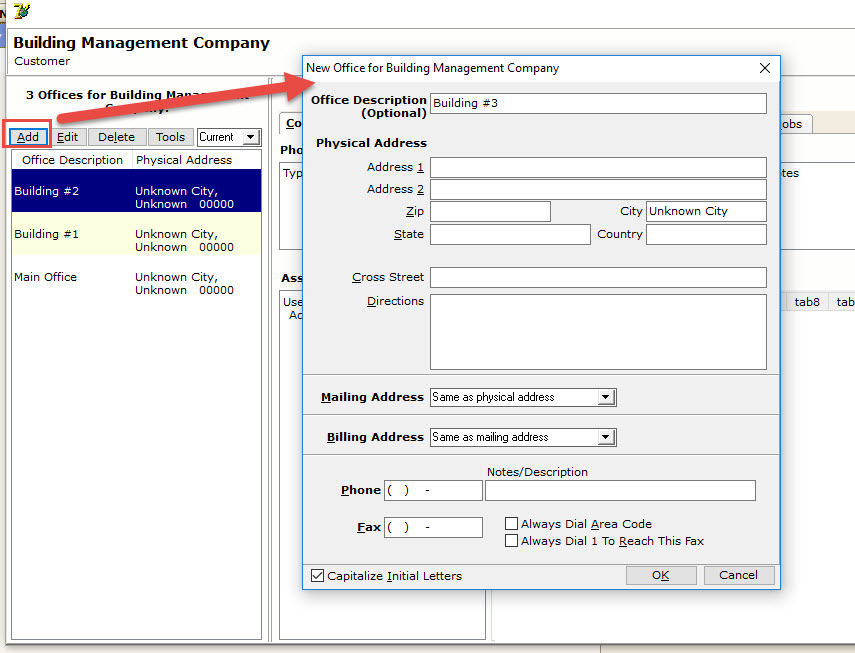
2. The next window that pops up will be to enter the main office (or the first building if there is no main office for that customer). Fill out all fields as completely as possible. You can also come back later and fill out. Even though the office description is optional, it makes using the org file easier if you add a description. 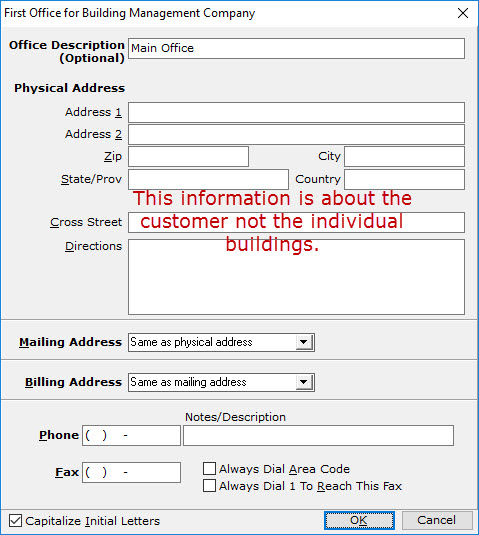
3. Next screen is the org file where you entered the first location (office description). Under tools button you can have the screen show the address or hide it. To the right, the tabs across the top are for the location that is highlighted. Below that is where you associate any people that are unique to that location. 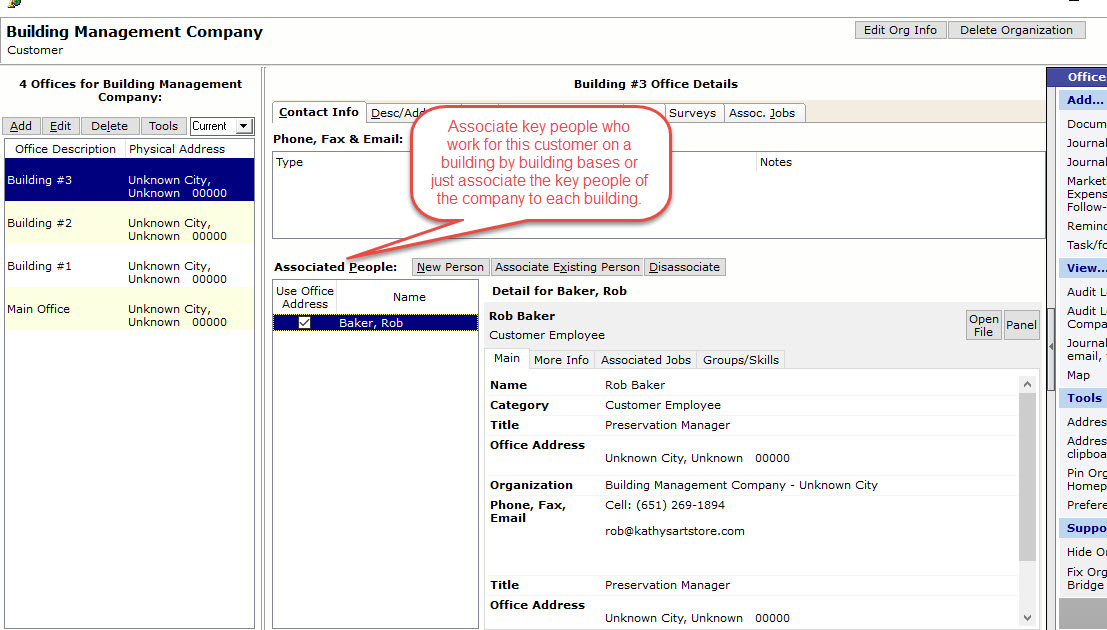
4. If adding only one location, you would close this screen and the job entry process would start. If you stay on this screen and enter many locations you will need to start the job entry process manually by highlighting a location then click on the add job button found on the associated jobs tab to start the job entry process. 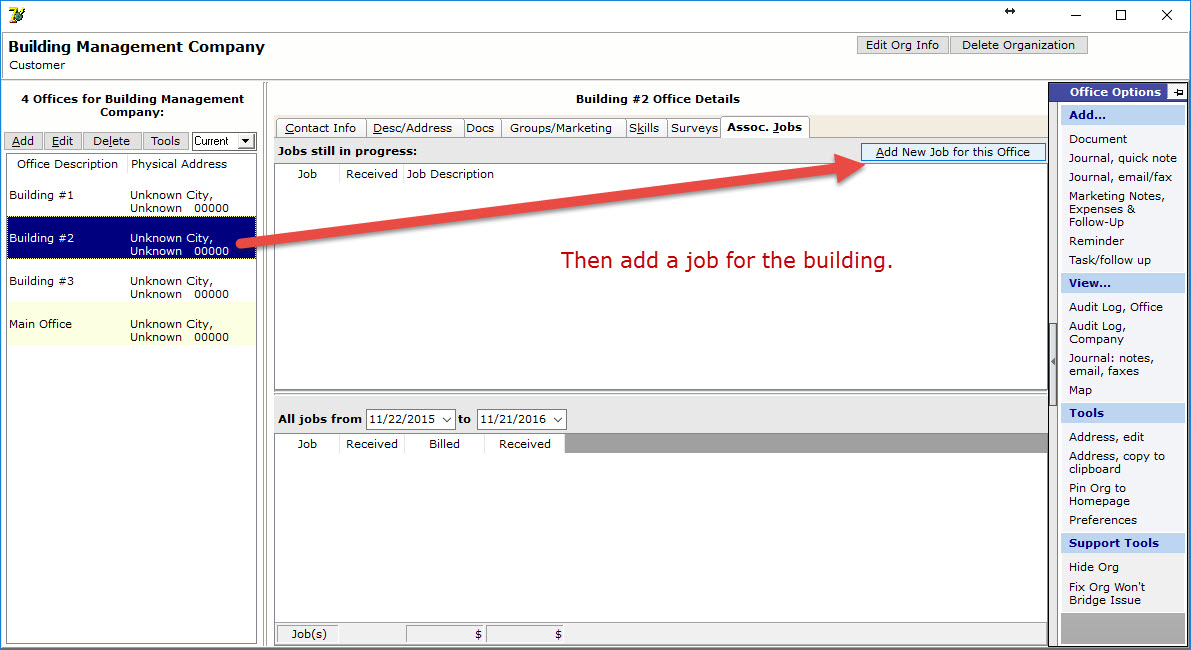
5. To add more locations, just click the add button and the new office screen will open.
Comments
0 comments
Please sign in to leave a comment.